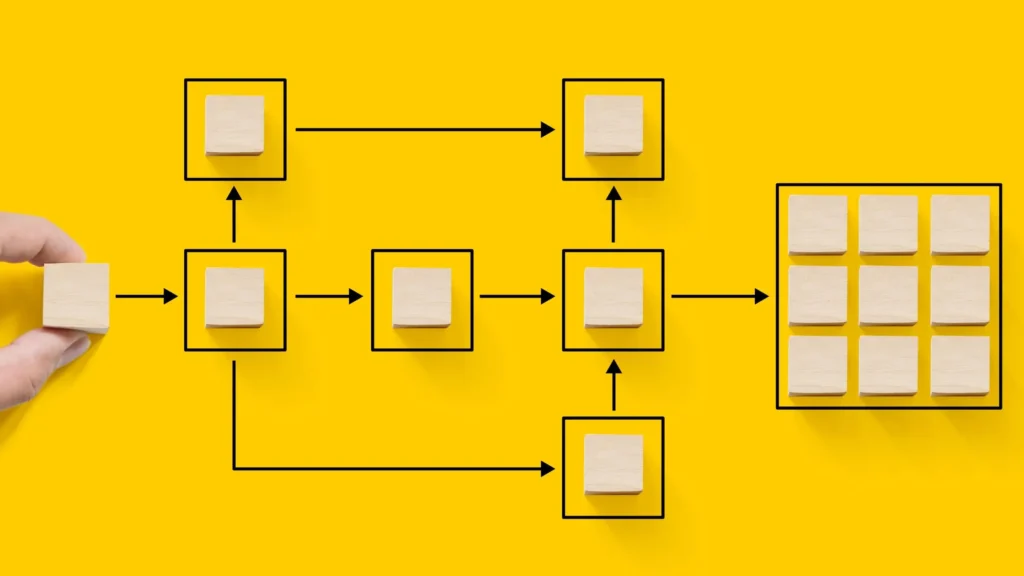
Do you want to automate your email campaigns with Microsoft Power Automate?
Or are you looking for a way to streamline your email marketing process and save time?
Not even email campaigns, with the help of Microsoft Power Automate and Power Platform, you can do many more business-based heavy duties without being stuck on it.
For example, you could use Power Automate to automatically create new customer accounts in your CRM system when a new lead is added to your website.
Or, you could set up a workflow that automatically generates invoices and sends them to customers when a payment is received.
So ladies and gentlemen, more exciting things are going to be revealed.
Are you ready to unlock some potential information about how you can automate email campaigns with Microsoft Power Automate?

Here’s how to automate email campaigns with Microsoft Power Automate
When it comes to the key features of Power Automate, you can connect to a wide range of data sources, including email services such as Outlook and Gmail.
This will give you the highest chance to create workflows that automate various aspects of your email campaigns.
For example, sending follow-up emails, segmenting your email list, and tracking email performance metrics.
The time has come to automate your email campaigns with Microsoft Power Automate while saving time, improving efficiency, and achieving better results.
Here’s the process of automating email campaigns with Microsoft Power Automate.
- Sign up for a Microsoft Power Automate account and log in to the platform.
- Create a new flow by selecting “My flows” from the left-hand menu and clicking “Create from blank.”
- Choose the trigger that will start the flow.
- Set up any additional conditions or filters you want to apply to the trigger.
- Customize the details of each step as needed.
- Test the flow to make sure it’s working correctly.
That’s how simply you can automate your email campaigns with Power Automate.
When you’re done with creating your email content, let the Power Platform automate email campaigns and spend your time with other important things.
Let’s dive deeper into each step to complete the job with total confidence.
1. Sign up for a Microsoft Power Automate account and log in to the platform.
First, you must sign up for a Microsoft Power Automate account and log in to the platform.
If you already have an account, simply go to Power Automate and log into the account.
Once logged in, you can access various pre-built templates and connectors to help you automate various tasks and processes, including email campaigns.
These templates and connectors play a significant role in this entire process.
The exciting thing is you can create your custom flows to automate your email campaigns.
You have many tools and capabilities, including triggers, conditions, actions, etc.
That allows you to create powerful workflows that meet the specific needs of your business.
2. Create a new flow.
Now it’s time to create a new flow from scratch. And here’s how you can create a new flow.
- From the main dashboard, click on “My flows” from the left-hand menu.
- Click the “Create from blank” button to create a new flow from scratch.
When you’re done with the above two steps, you’ll be presented with a blank canvas where you can start building your flow.
So let’s continue to the next steps of creating a new flow.
- Name your flow and select the trigger to start your email campaign flow.
- Next, you’ll need to specify any conditions that should be met before the flow continues.
- Once you’ve set up your trigger and any necessary conditions, it’s time to add an action to send out your email campaign content.
- Customize the email with your campaign content, recipient list, and any other details necessary for your email campaign.
- Test your flow to make sure it’s working correctly.
After all, the magic happens!
Your email campaign will now be automated and sent according to the trigger and conditions you set up.
3. Choose the trigger that will start the flow.
After the above two steps, The trigger sets off the workflow, and in the case of an email campaign, it could be something like a new email arriving in your inbox.
To choose your trigger, follow these steps;
- Click on “My flows” in the left-hand menu.
- Click on “Create” in the top-right corner of the screen.
- Choose “Automated flow” and give your flow a name.
- Select the trigger that you want to use for your email campaign flow.
This trigger will activate your flow whenever a new email arrives in your inbox.
When you’re done with the selected trigger, you can move on to the next step in setting up any additional conditions or filters that you want to apply to the stimulus.
4. Set up any additional conditions or filters you want to apply to the trigger.
This step is pretty simple. After choosing the trigger for your email campaign automation flow, set up additional conditions or filters to further refine the flow.
However, you’d better keep in mind this step is optional. Still, it can help ensure that your email campaign automation only sends emails to the correct recipients or meets specific criteria.
To set up additional conditions or filters, follow these steps:
- Click on the trigger you selected in the previous step.
- Choose “Add a condition” or “Add a filter” from the available options
- Set up the condition or filter according to your preferences.
After completing this step, you can move to customize the details of each action as needed.
5. Customize the details of each action as needed.
You already have selected your trigger. The next step is to customize the details of each action as needed.
In this step, you will set up the specific actions that should happen when the trigger occurs.
For example, you can email a specific list or update a database with new information.
Furthermore, you can customize the details of these actions to ensure that your email campaign runs smoothly and meets your specific needs.
By following these steps, you can customize the details of your action.
- Click on the trigger you selected in the previous step to open the “Edit Flow” window.
- Click “New step” to add a new action to your flow.
- Choose the action you want, such as “Send an email” or “Create a new record in Dynamics 365”.
- Customize the details of each action as needed, such as adding the email recipients, subject line, or body of the email.
6. Test the flow to make sure it’s working correctly.
Now you’re in the last couple of steps to complete the job!
Once you have set up your flow and customized the necessary steps, testing it to ensure it’s working correctly is essential.
Testing your flow can help you identify any issues or errors that need to be fixed before you start your email campaign automation.
Yes, here are simple steps to test your flow;
- Click on “Test” in the top-right corner of the screen.
- Choose “I’ll perform the trigger action” to manually trigger the flow.
- Follow the prompts to provide any required inputs, such as the subject line or content of the email.
- Click on “Run flow” to start the test.
Once you’re satisfied that your flow is working correctly, save it and turn it on.
Then you’re done!
So congrats on learning how to automate email campaigns with Microsoft Power Automate.
No worries if you’re looking for someone to do the job for you; AAARM Tech is here to make it happen!


